

By Maya Ellison ·
How to Dermaplane at Home: A Simple Step-by-Step Guide
Dermaplaning at home has become one of the easiest ways to get smoother skin and a flawless makeup base without booking a salon. The technique is simple once you understand the angle, the direction of your strokes and the aftercare. This guide walks through every step the way I actually do it, plus the small details that make the difference between a clean pass and an irritated one.
If you are brand new to the tool itself, it helps to first read how to use a dermaplane razor and whether dermaplaning is safe for your skin. Then come back here for the full at-home routine.
What you need before you start
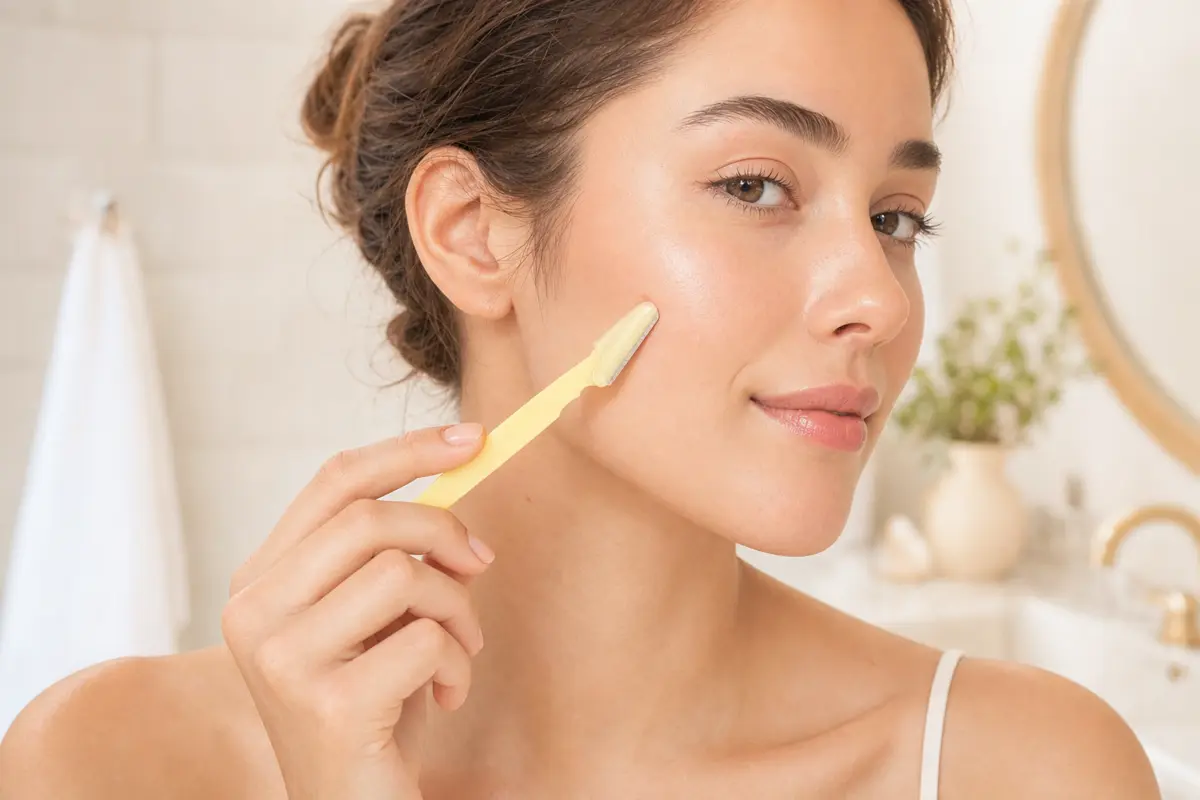
You do not need much. A clean facial razor with a safety guard, a mirror in good light, a gentle cleanser, and a moisturizer plus sunscreen for after. A manual dermaplane razor is the friendliest place to begin because you control every stroke and the safety guard reduces the chance of nicks. If you prefer a hands-off pass, the electric dermaplane tool does similar work with a motorized head, though most people find the manual version gives them more control over pressure.
Set aside ten quiet minutes. Rushing is the single most common reason people irritate their skin, so treat this like a small ritual rather than a chore squeezed between two other things.
Step 1: Prep clean, dry skin
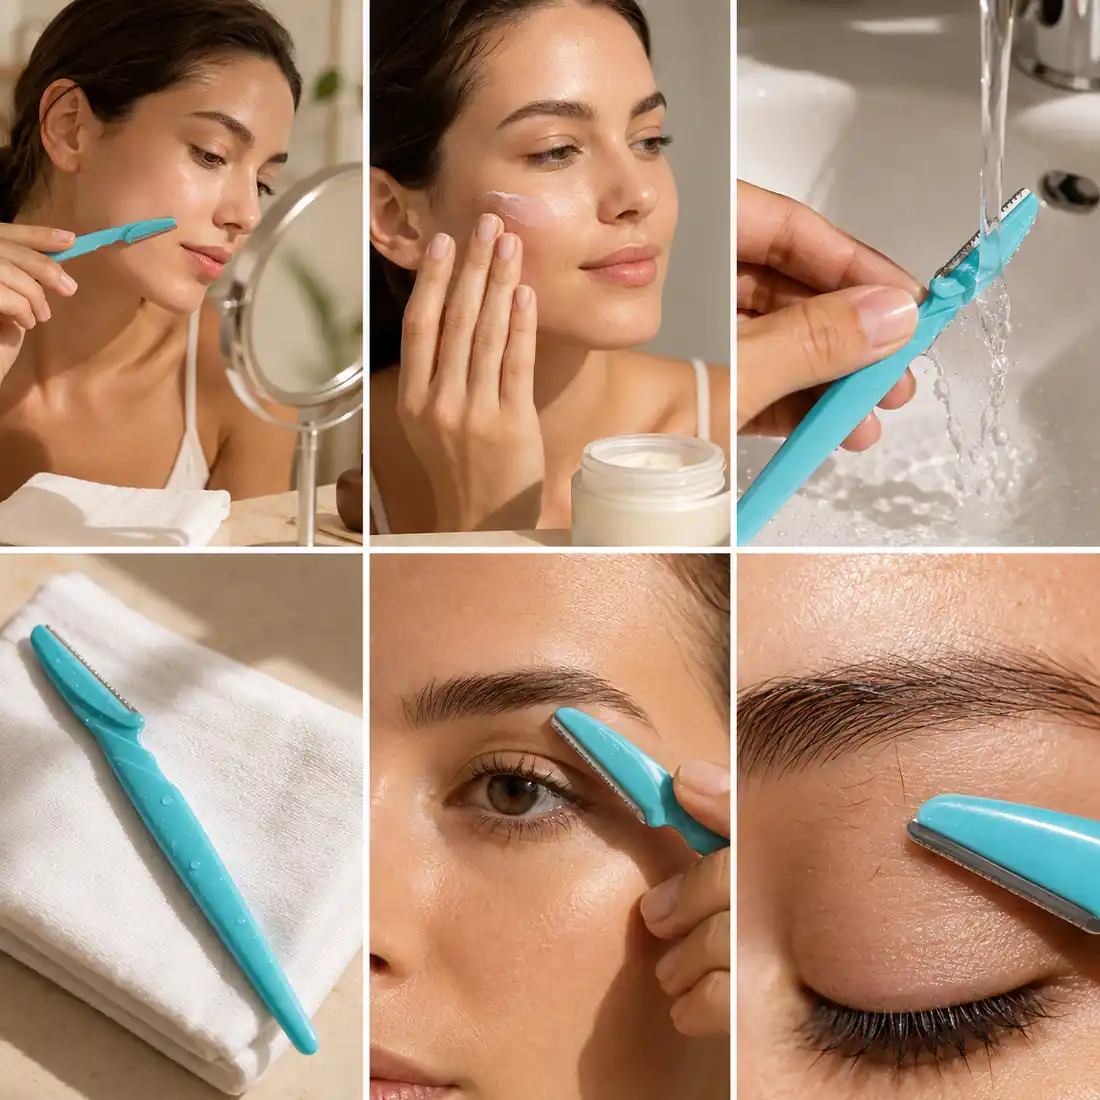
Cleanse your face and pat it completely dry. This is the one rule people break most often. Dermaplaning is a form of dry exfoliation, so the blade needs to glide over dry skin to lift dead cells and fine vellus hair, often called peach fuzz. Wet or slippery skin makes the razor drag and skip, which is exactly when nicks happen.
Skip heavy oils, serums or thick creams beforehand. A clean, matte surface gives the blade a predictable path. Make sure your skin is calm that day too. If you are mid-breakout or your skin feels raw, this is not the day to dermaplane, and the reasons for that are covered in the safety guide.
Step 2: Hold the razor at 45°
Hold the razor at roughly a 45-degree angle to your skin. Too flat and the blade will not catch the hair. Too steep and you risk scraping. Forty-five degrees is the sweet spot that most people settle into within a pass or two, and it is the angle beauty editors and dermatologists commonly describe for at-home dermaplaning.
With your free hand, gently pull the skin taut in the area you are working on. Taut skin gives the blade a flat surface and helps it move smoothly. This one habit does more for a clean result than any expensive tool.
Step 3: Short, downward strokes
Use short strokes, roughly one to two inches at a time, moving in the direction your hair grows, which on the face is generally downward. Light pressure only. You are shaving off fuzz and dull surface cells, not digging in. After each stroke, wipe the blade on a tissue so buildup does not smear back onto your skin.
Go slowly and follow the natural contours of your face. Cheeks and the jawline are the easiest starting zones because they are broad and flat. Save trickier areas like the upper lip and the sides of the nose for once you feel confident with the motion.
Which zones to dermaplane (and which to skip)
Not every part of the face is equal. Here is how I map it out, and the same logic applies whether you are grooming brows or clearing peach fuzz.
| Zone | Approach | Notes |
|---|---|---|
| Cheeks & jawline | Downward short strokes | Best beginner zone, broad and flat |
| Forehead | Downward, then outward at the temples | Follow hairline direction |
| Upper lip | Short, careful strokes | Pull skin taut over the teeth |
| Brow edges | Tiny, precise strokes | An eyebrow razor shines here |
| Eyelids, active blemishes, moles | Skip entirely | Too delicate or raised to pass over |
Around the brows, precision matters more than speed. Many people keep a dedicated razor for tidying stray hairs and shaping the brow line, which is why the same tool doubles as a facial razor for women who want both fuzz removal and clean brows from one kit.
Step 4: Aftercare, hydrate and SPF
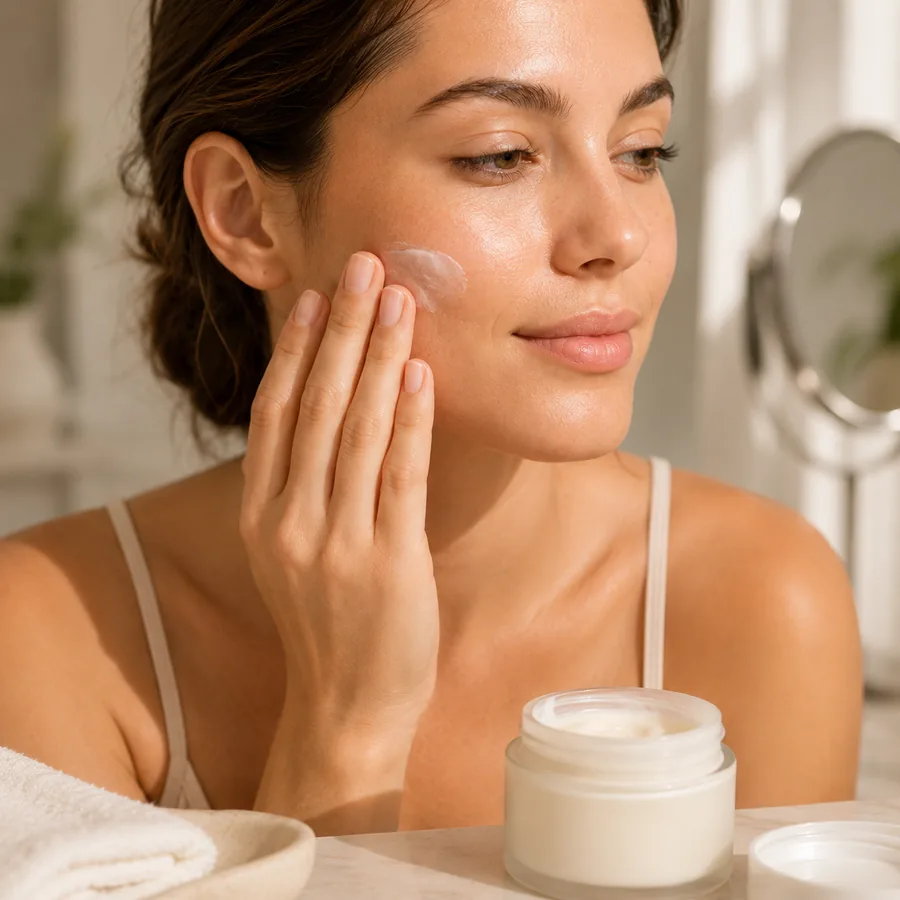
Freshly dermaplaned skin has had its top layer of dead cells lifted, so it is more receptive and a little more exposed. Apply a gentle, fragrance-free moisturizer to comfort the skin. If you dermaplane in the morning, follow with a broad-spectrum sunscreen, since newly exfoliated skin is more sensitive to the sun. This step is not optional if you want happy skin.
Hold off on strong actives that same day. Retinols, acids and heavy fragrance can sting on just-exfoliated skin. Keep the rest of the day simple and let your skin settle. You will usually notice makeup sits smoother and glides on more evenly right away, which is one of the most loved benefits of dermaplaning.
Common mistakes to avoid
Most home dermaplaning problems trace back to a handful of habits. Pressing too hard is the big one, because the blade only needs to skim. Working on damp skin is the second, since it causes dragging. Going over the same patch again and again is the third, and it is the fastest route to redness.
One more myth worth clearing up: shaving fuzz does not make it grow back thicker or darker. Cutting hair at the surface does not change the follicle underneath, so it returns at the same thickness. It can feel blunt at the tip for a day or two because it was cut straight across rather than tapered, but the hair itself is unchanged. There is a fuller explanation in the benefits article.
How often to dermaplane
For most people, once a week to once every two weeks is plenty. That spacing gives your skin time to renew between sessions and keeps peach fuzz in check without overdoing the exfoliation. If your skin ever feels tight, flaky or reactive, stretch the interval out. There is no prize for doing it more often.
Everyone is different, so let your skin set the pace. We break the interval down skin type by skin type in how often should you dermaplane. If you are unsure whether it suits you at all, the rundown in is dermaplaning safe covers who should hold off, including people with active acne, a rosacea flare or eczema in the area.
That is the whole routine. Clean and dry, 45 degrees, short downward strokes, then moisturizer and SPF. Once the motion clicks, a full pass takes only a few minutes and quickly becomes the step that makes everything else in your skincare and makeup routine look better. If you want to compare tools before you start, the best dermaplane razor guide and the dermaplane vs shaving breakdown are good next reads, and real customer notes live on the reviews page.
Ready to try it?
The Peachly reusable dermaplane razor set comes in an assorted multipack with a built-in safety guard, so you can start with clean strokes from day one.
Maya Ellison · Beauty writer & at-home dermaplaning enthusiast
Maya has tested dozens of facial razors and writes practical, honest at-home skincare guides. She is not a dermatologist, so for any medical skin concern she points readers to a professional.